
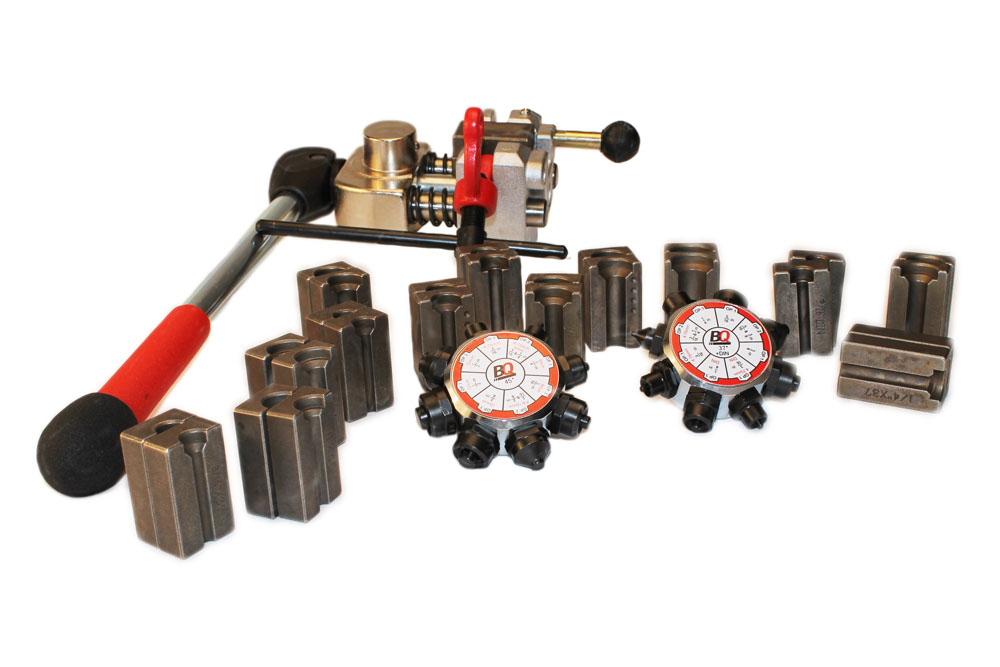
Short answer: a double flare on brake pipe is a two-stage 45° SAE flare where the tube end folds back on itself before the cone is formed. Get the stickout right for your tool and work the fold in stages instead of cranking it down in one motion, and the flare seals the first time. Rush either part and you usually don’t find out until the line’s routed, bled, and under pressure.

What size pipe are you actually holding
Brake pipe comes in four outside diameters: 3/16″, 1/4″, 5/16″, and 3/8″. 3/16″ is what you’ll find on most cars and light trucks front to rear, it’s the size the master cylinder and most calipers are actually built around. 1/4″ and up shows up on heavier trucks, trailers, and anywhere a line also has to feed a rear axle or a proportioning valve with more flow through it. Measure the outside diameter with calipers before you buy a die set, not the inside diameter and not by eye against an old fitting. Put 3/16″ tube in a 1/4″ die and it won’t fold over, the die just chews the end of the tube without ever closing the lip.
The fold is what makes it a double flare
A single 45° flare is one cone, formed straight from the tube wall. A double flare adds a step before that: the last stretch of the tube end gets folded back inside itself first, so the finished cone is two layers of tube wall thick where it actually seats against the fitting. That’s the whole reason the process takes two stages instead of one. Clamp the tube in the bar at the depth your tool calls for, run the fold punch down first to turn the end over on itself, then swap to the cone adapter and finish the 45° angle over the folded lip. Try to skip the fold and form the cone straight off a flat cut end, and you get something that looks like a flare but is only one wall thick where the fitting expects two. It may hold pressure for a while. It still isn’t a double flare, and it isn’t what the fitting was built to clamp against.
The thread has to match the tube, not just the line it’s replacing
A double flare doesn’t do anything by itself, it seats against an inverted flare fitting, and that fitting’s thread has to match the tube size:
- 3/16″ tube pairs with a 3/8-24 thread
- 1/4″ tube pairs with a 7/16-24 thread
- 5/16″ tube pairs with a 1/2-20 thread
- 3/8″ tube pairs with a 9/16-18 thread
Get the tube size right and the thread wrong, or the other way around, and the fitting starts on the threads fine and then binds before the flare ever seats. That feels exactly like a cross-thread even when it isn’t one. Match both before you cut the pipe to length, not after you’ve already flared the end.
Slide the fitting on before you touch the tool
The flare nut, and any union or adapter that has to end up on that section of pipe, goes onto the tube before you form the flare, not after. Once the flare is formed it’s wider than the tube it came from and nothing slides past it. Getting this backward means cutting the flare off, losing that length of pipe, and starting the end over on a shorter piece, which matters more than it sounds like on a line that was already cut close.
Where this goes wrong on stainless specifically
Stainless brake pipe work-hardens as you form it. Copper-nickel and mild steel don’t do this nearly as much. Crank a stainless double flare down in one aggressive pass the way you might get away with on copper-nickel, and the fold stage is exactly where it splits, right at the bend, because the material has already stiffened up by the time it needs to fold cleanly. The fix isn’t a different technique so much as patience: work the fold in short movements, back the tool off, check it, and keep going instead of running it down in one motion. It also asks more of the tool. A die that flexes under load or a clamp that isn’t rigid enough will let the tube walk slightly mid-fold on stainless in a way it wouldn’t on softer tube, and that’s enough to throw the finished flare off-center. The BrakeQuip BQ351 Brake Flare Tool Kit is built to hold up under stainless specifically, worth checking before you find out the kit already in your toolbox is rated for steel and copper-nickel only.
Test it before you trust it
A double flare that looks right can still be undersized, off-center, or thin on one side in a way you won’t see without pressure behind it. Bleed the system and check every flare you made for weeping before the car goes back on the road, not just the ones you weren’t sure about going in. A flare that’s going to fail usually shows it in the first few minutes under pressure, not months later.